
I have been meaning to try a double-z folded card for a while now, and this afternoon I sat down to have a go.
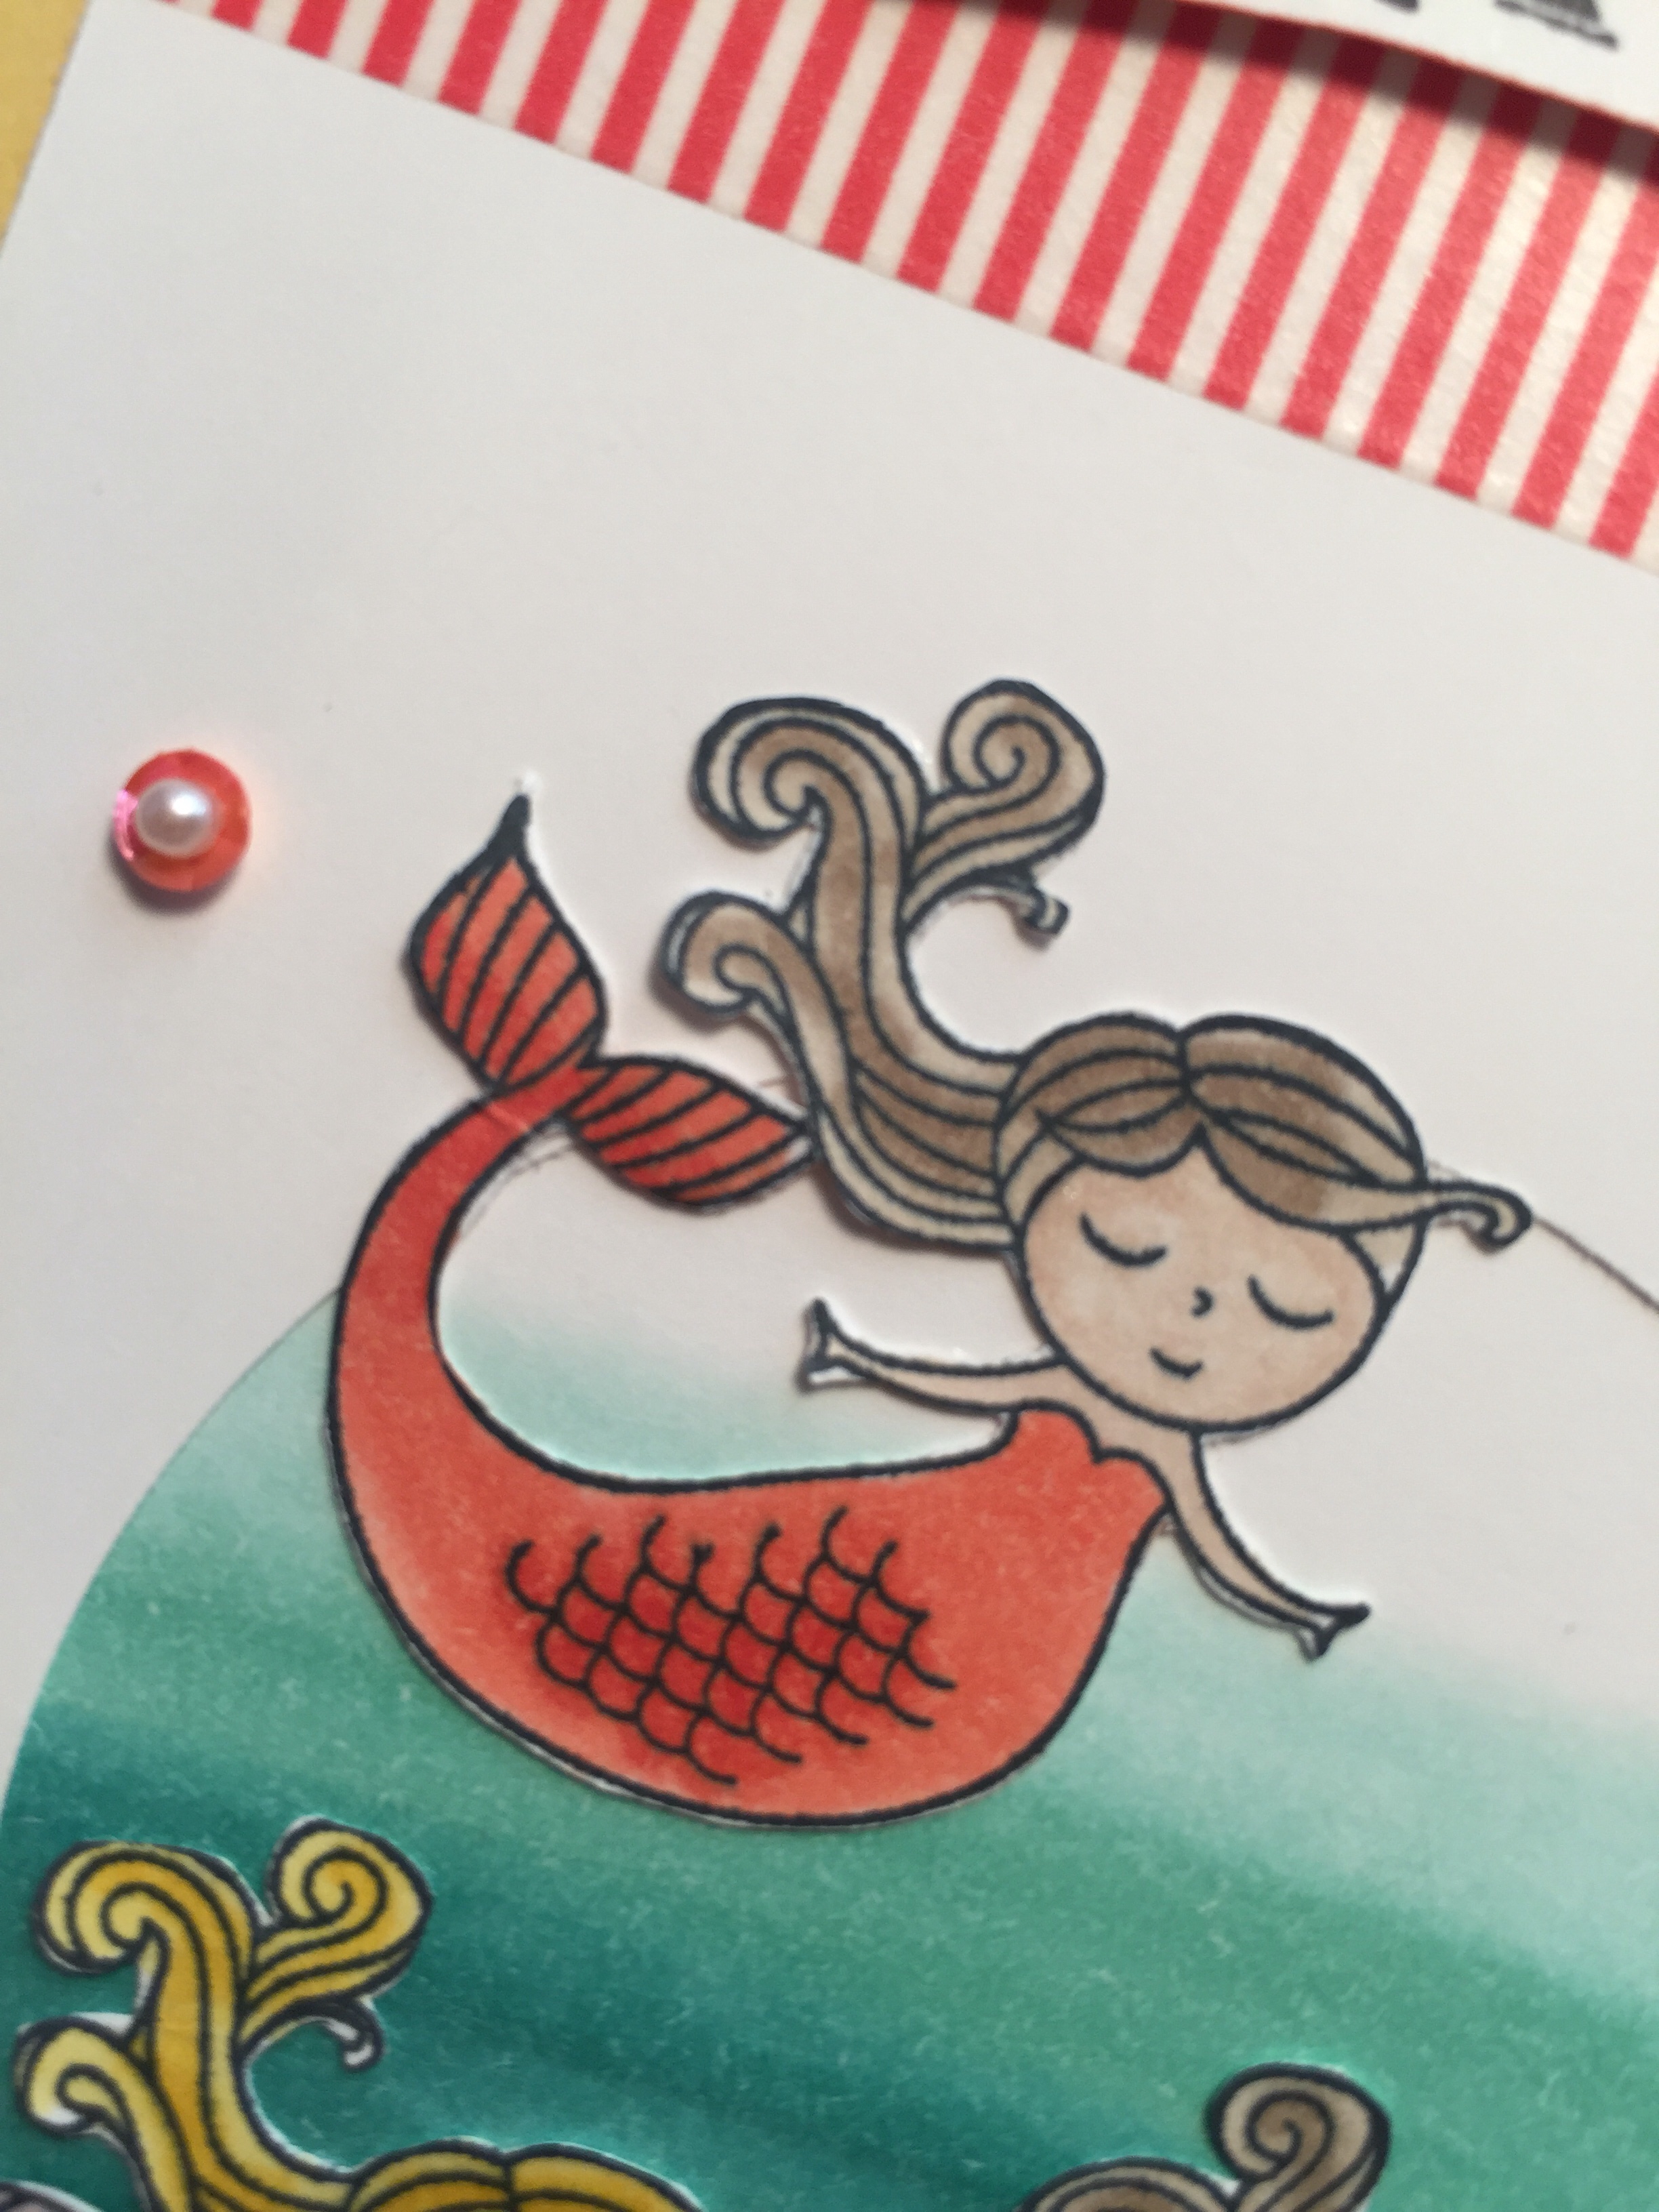
It really is quite a simple card to put together, for the the longest part was fussy cutting the extra things I stuck to it. The trees and reindeers all came from the foxy friends stamp set. The sentiment came from a generic christmas stamp set.
For the background I used the Bokeh technique, I really love this technique and have used it a few times now. It gives an otherwise flat background a bit of interest. You can see some of the other projects where I have used the Bokeh technique here.
The basics for this card are a large piece of card cut at 28cm x 10.2cm, and a skinnier piece that is also 28cm long. For mine the skinny piece had a height of 3cm, but depending on your theme of card you might want this thinner, or thicker. This piece doesn’t need to go at the bottom, it can go at the top or even in the middle. It doesn’t really matter.
The large piece of card needs to be scored at 7cm and 14cm. The smaller piece 14cm and 21cm. If your smaller piece is uniform across it’s width then you can score this one at 7cm and 14cm as well, and then just flip it upside down before you start stamping on it or attaching things to it. This makes it easier to remember.
When folded, this card is close to standard card size at 14cm x 10.2 (5″ x 4″) so will fit in a standard envelope and be cheap to post (provided you don’t use heaps and heaps of embellishments.

The photos below should make it clear how to stick the two pieces together, if it’s not and you want to know more, drop me a comment or contact me. Alternatively check out You Tube – even if someone has used slightly different measurements the idea of how to stick the pieces together is the same.


Let me know what you think in the comments below – I am always happy to hear tips where you think I could improve too – this is a learning game right?


So very adorable! Love this!
LikeLike