
Bokeh is actually a photography technique defined as “the visual quality of the out-of-focus areas of a photographic image, especially as rendered by a particular lens”. In this post I show how the technique has been applied to paper craft backgrounds.
To create a bokeh background you need a few things, namely some coloured inks for blending, some white craft ink, and a stencil. I created my own stencil by punching some different sized circles into a piece of acetate (window sheet). I thought this was good stencil material as it could be washed / wiped over when I was finished and re-used again.
I’ve made a couple of cards over recent nights using this technique, and coincidentally both used the same colours to create the blended background, but really you can pick any colours you like. I would stick to around three if you are doing a card front, and as long as they coordinate and can blend you should be right.
Both of the cards created were pinterest inspired. The first one was inspired by a lady known as The Serene Stamper, whose blog I am really enjoying and can be seen here. The second card was inspired by this one here.
Using sponges apply each of your background inks to your piece of card stock. I aim to apply about 1/3 of each colour and I do it randomly. I start with the lighter colour and move up to the darker. You can always apply more ink but you can’t take it away so work slowly and apply the ink using light circular motions. Given that the ink is dye based it dries fast so you can do the second step straight away.
The second step in creating the background is to apply white craft ink using a sponge dauber and your circle (or any shape really) stencil. A few things to note when working with the craft ink, it is slow drying, so be aware of this as you are moving your stencil around. You don’t want to drag ink where you didn’t want it and ruin the gorgeous effect you created earlier! Secondly, it is very easy to transfer coloured ink from your card back to your white ink pad. I had read a tip that told me about this and it suggested using just a small corner of your ink pad to ink up. This sounded a sensible idea but I forgot about it once I started working….so now sections of my ink pad have a very light blue tinge!

Prior to starting my second card background with this technique, I googled a bit more and someone suggested using an acrylic block as your white ‘ink pad’. Basically swipe the block across the ink pad to pick up some ink and then ink up your dauber from there instead. I thought this was really clever and did it this way the second time. I maybe wasted a bit of ink, but it was much better for my ink pad!
In the first card I made (shown above) I stamped some pine trees (out of the Foxy Friends stamp set) in cucumber crush and then cut them out. I tore some white card stock and stuck it along the bottom to look like snowy hills. Finally I finished it off with some twine and a christmassy sentiment (from kaisercraft).
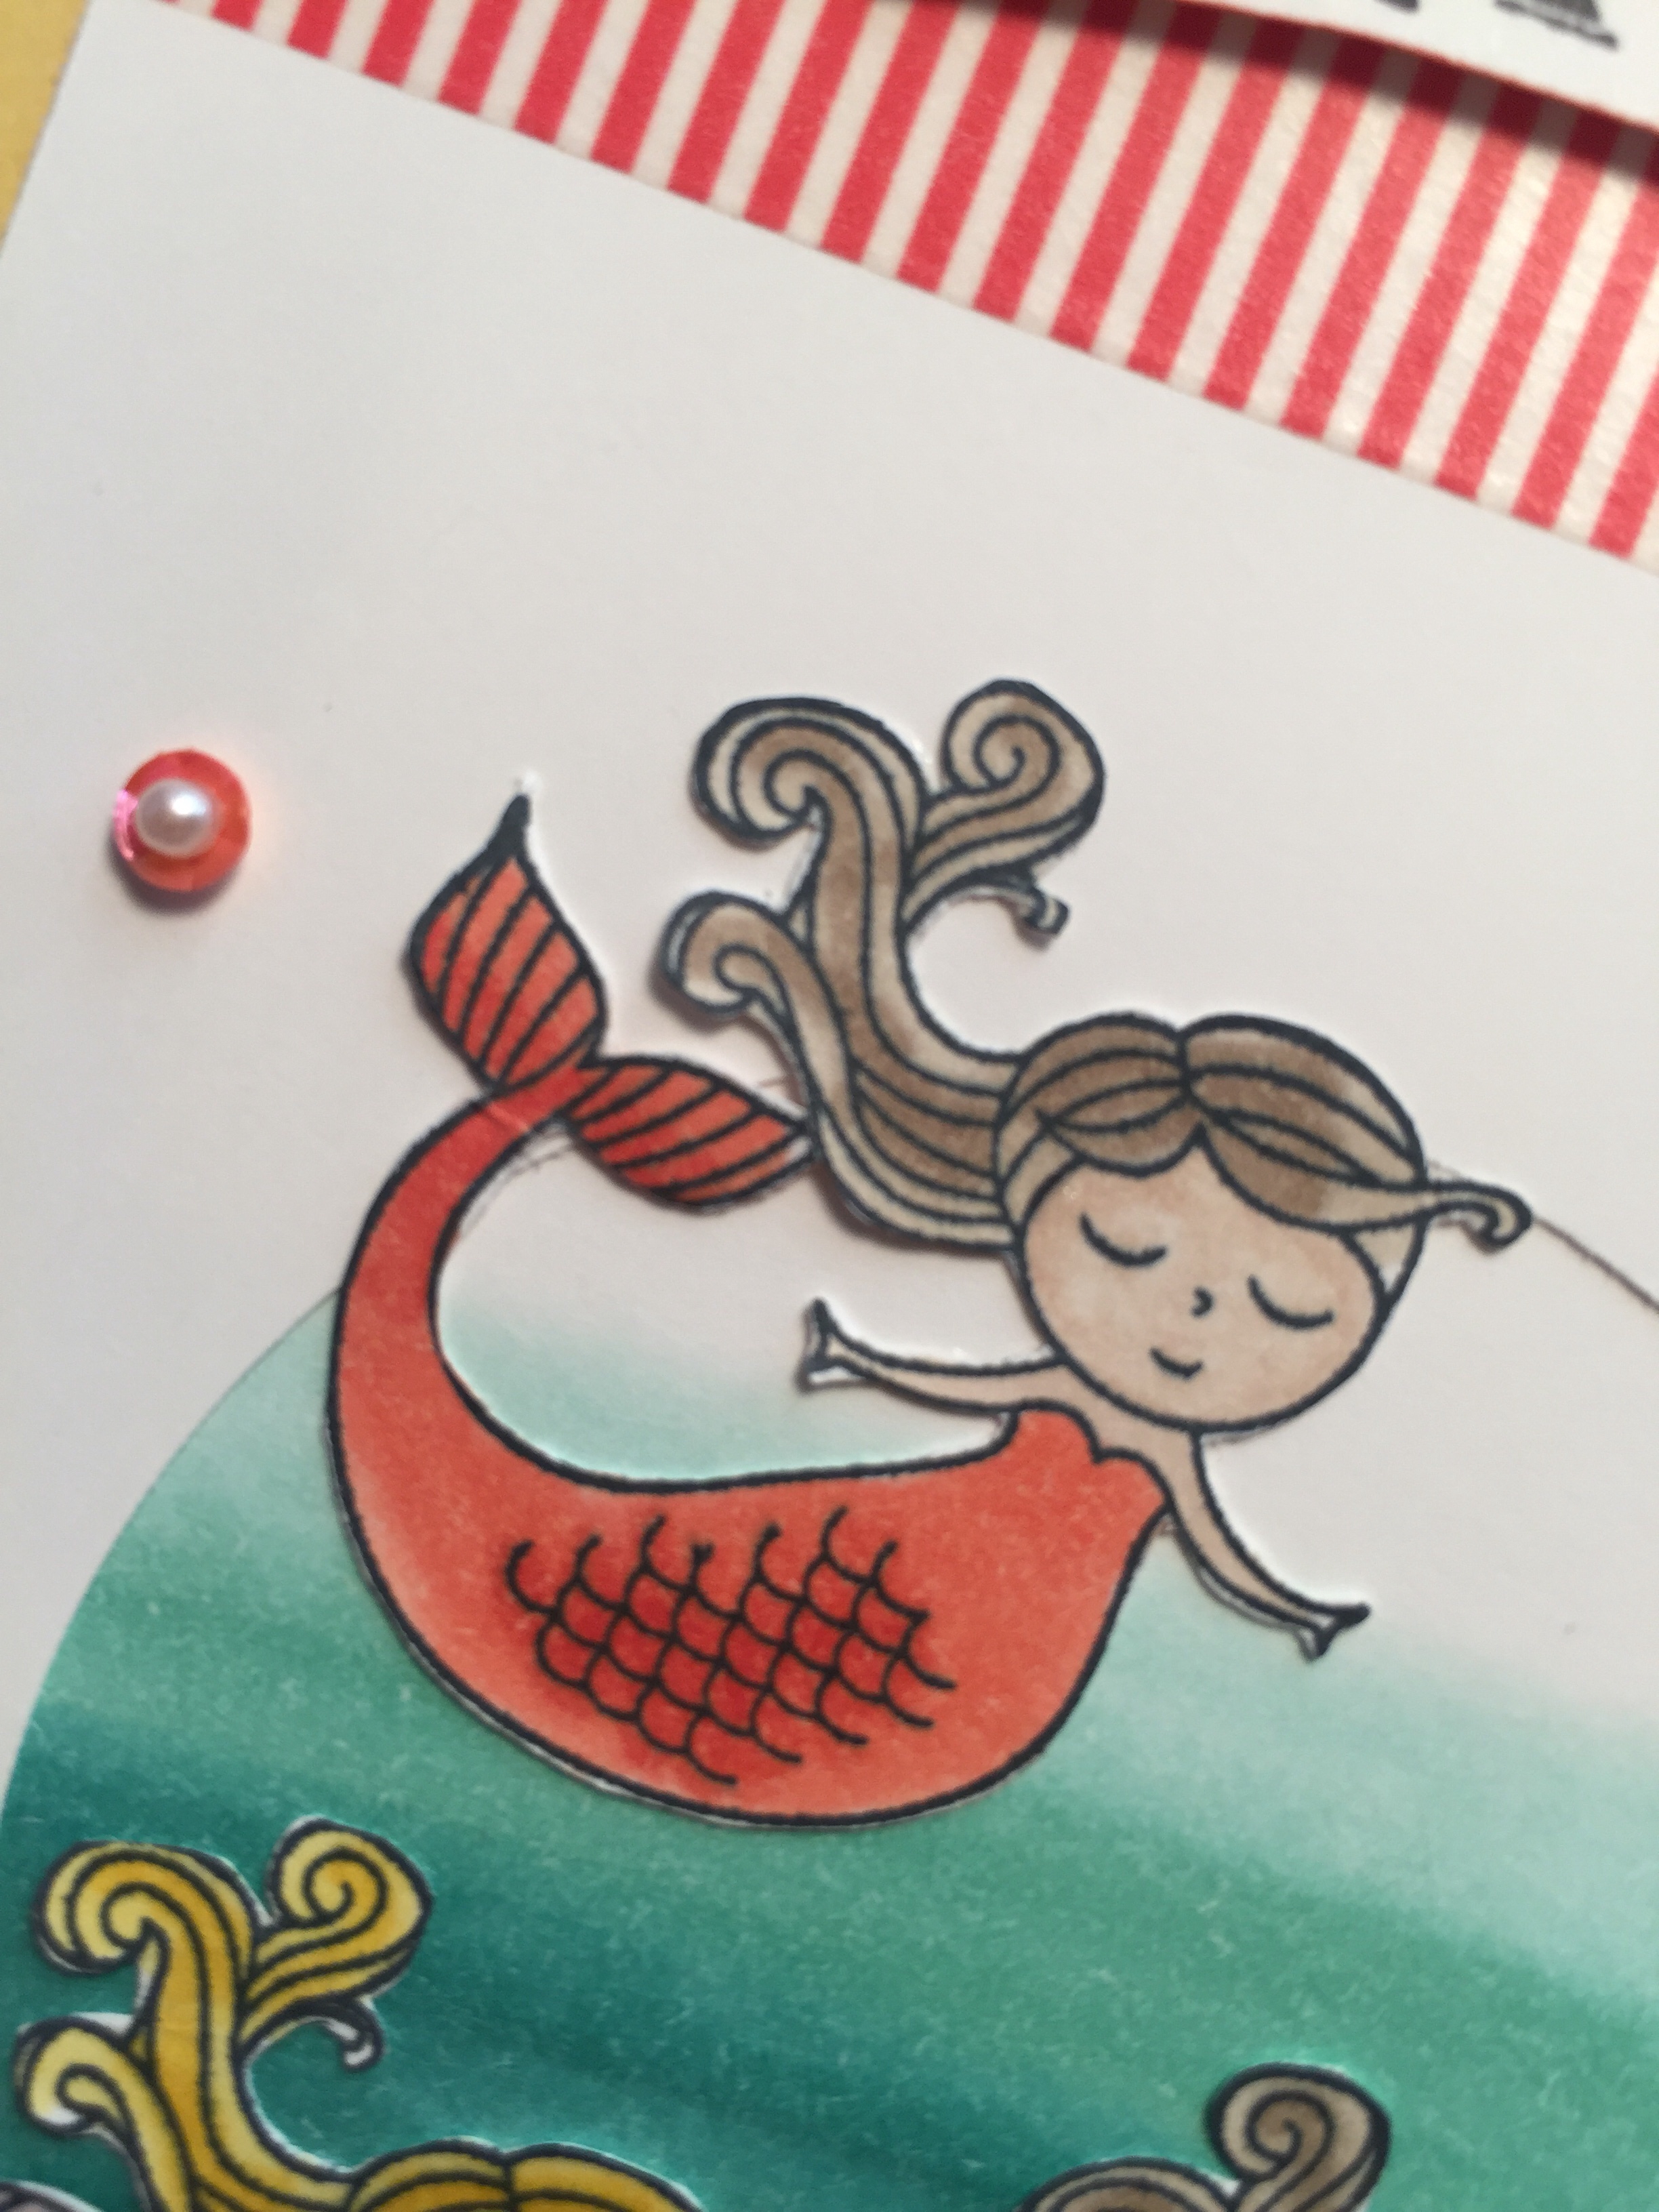
The second card I made using this technique, is actually a birthday card for someone in a stamping group I am a part of. People list their birthdays and then others make / send cards on their special days. It’s a really lovely idea. I finished this card off with some images that I stamped and coloured from the ‘Nice and Easy Notes’ set (the same set was used to create a set of small note cards, very cute idea that you can see here. The images are coloured in my Nuvo alcohol markers and then just fussy cut out. I really like how this one turned out. It is hard making a birthday card for someone you have never met, but I hope she likes it.


[…] was the first time I had stamped in this ink (I have previously only applied it using daubers, see here). It was quite hard to get a good impression, and a quick google told me this was common. To get […]
LikeLike
[…] For the background I used the Bokeh technique, I really love this technique and have used it a few times now. It gives an otherwise flat background a bit of interest. You can see some of the other projects where I have used the Bokeh technique here. […]
LikeLike