
I love notecards, they are just so handy to have around the house for when you need to add to a gift. They are a perfect size for a parcel of baked goodies, but still more than adequate to attach to a gift bag.
I had seen a gorgeous set of notecards on Pinterest and decided today would be the day to CASE them (Copy and Share Everything…I think it’s a card making term!). Here is the link to the original ones I found.
I find that when making a set of cards, it is easiest to have all the prep work done and put them together in a mini assembly line. Do all the paper cutting first, then the stamping (especially handy for when you mis-stamp something!).
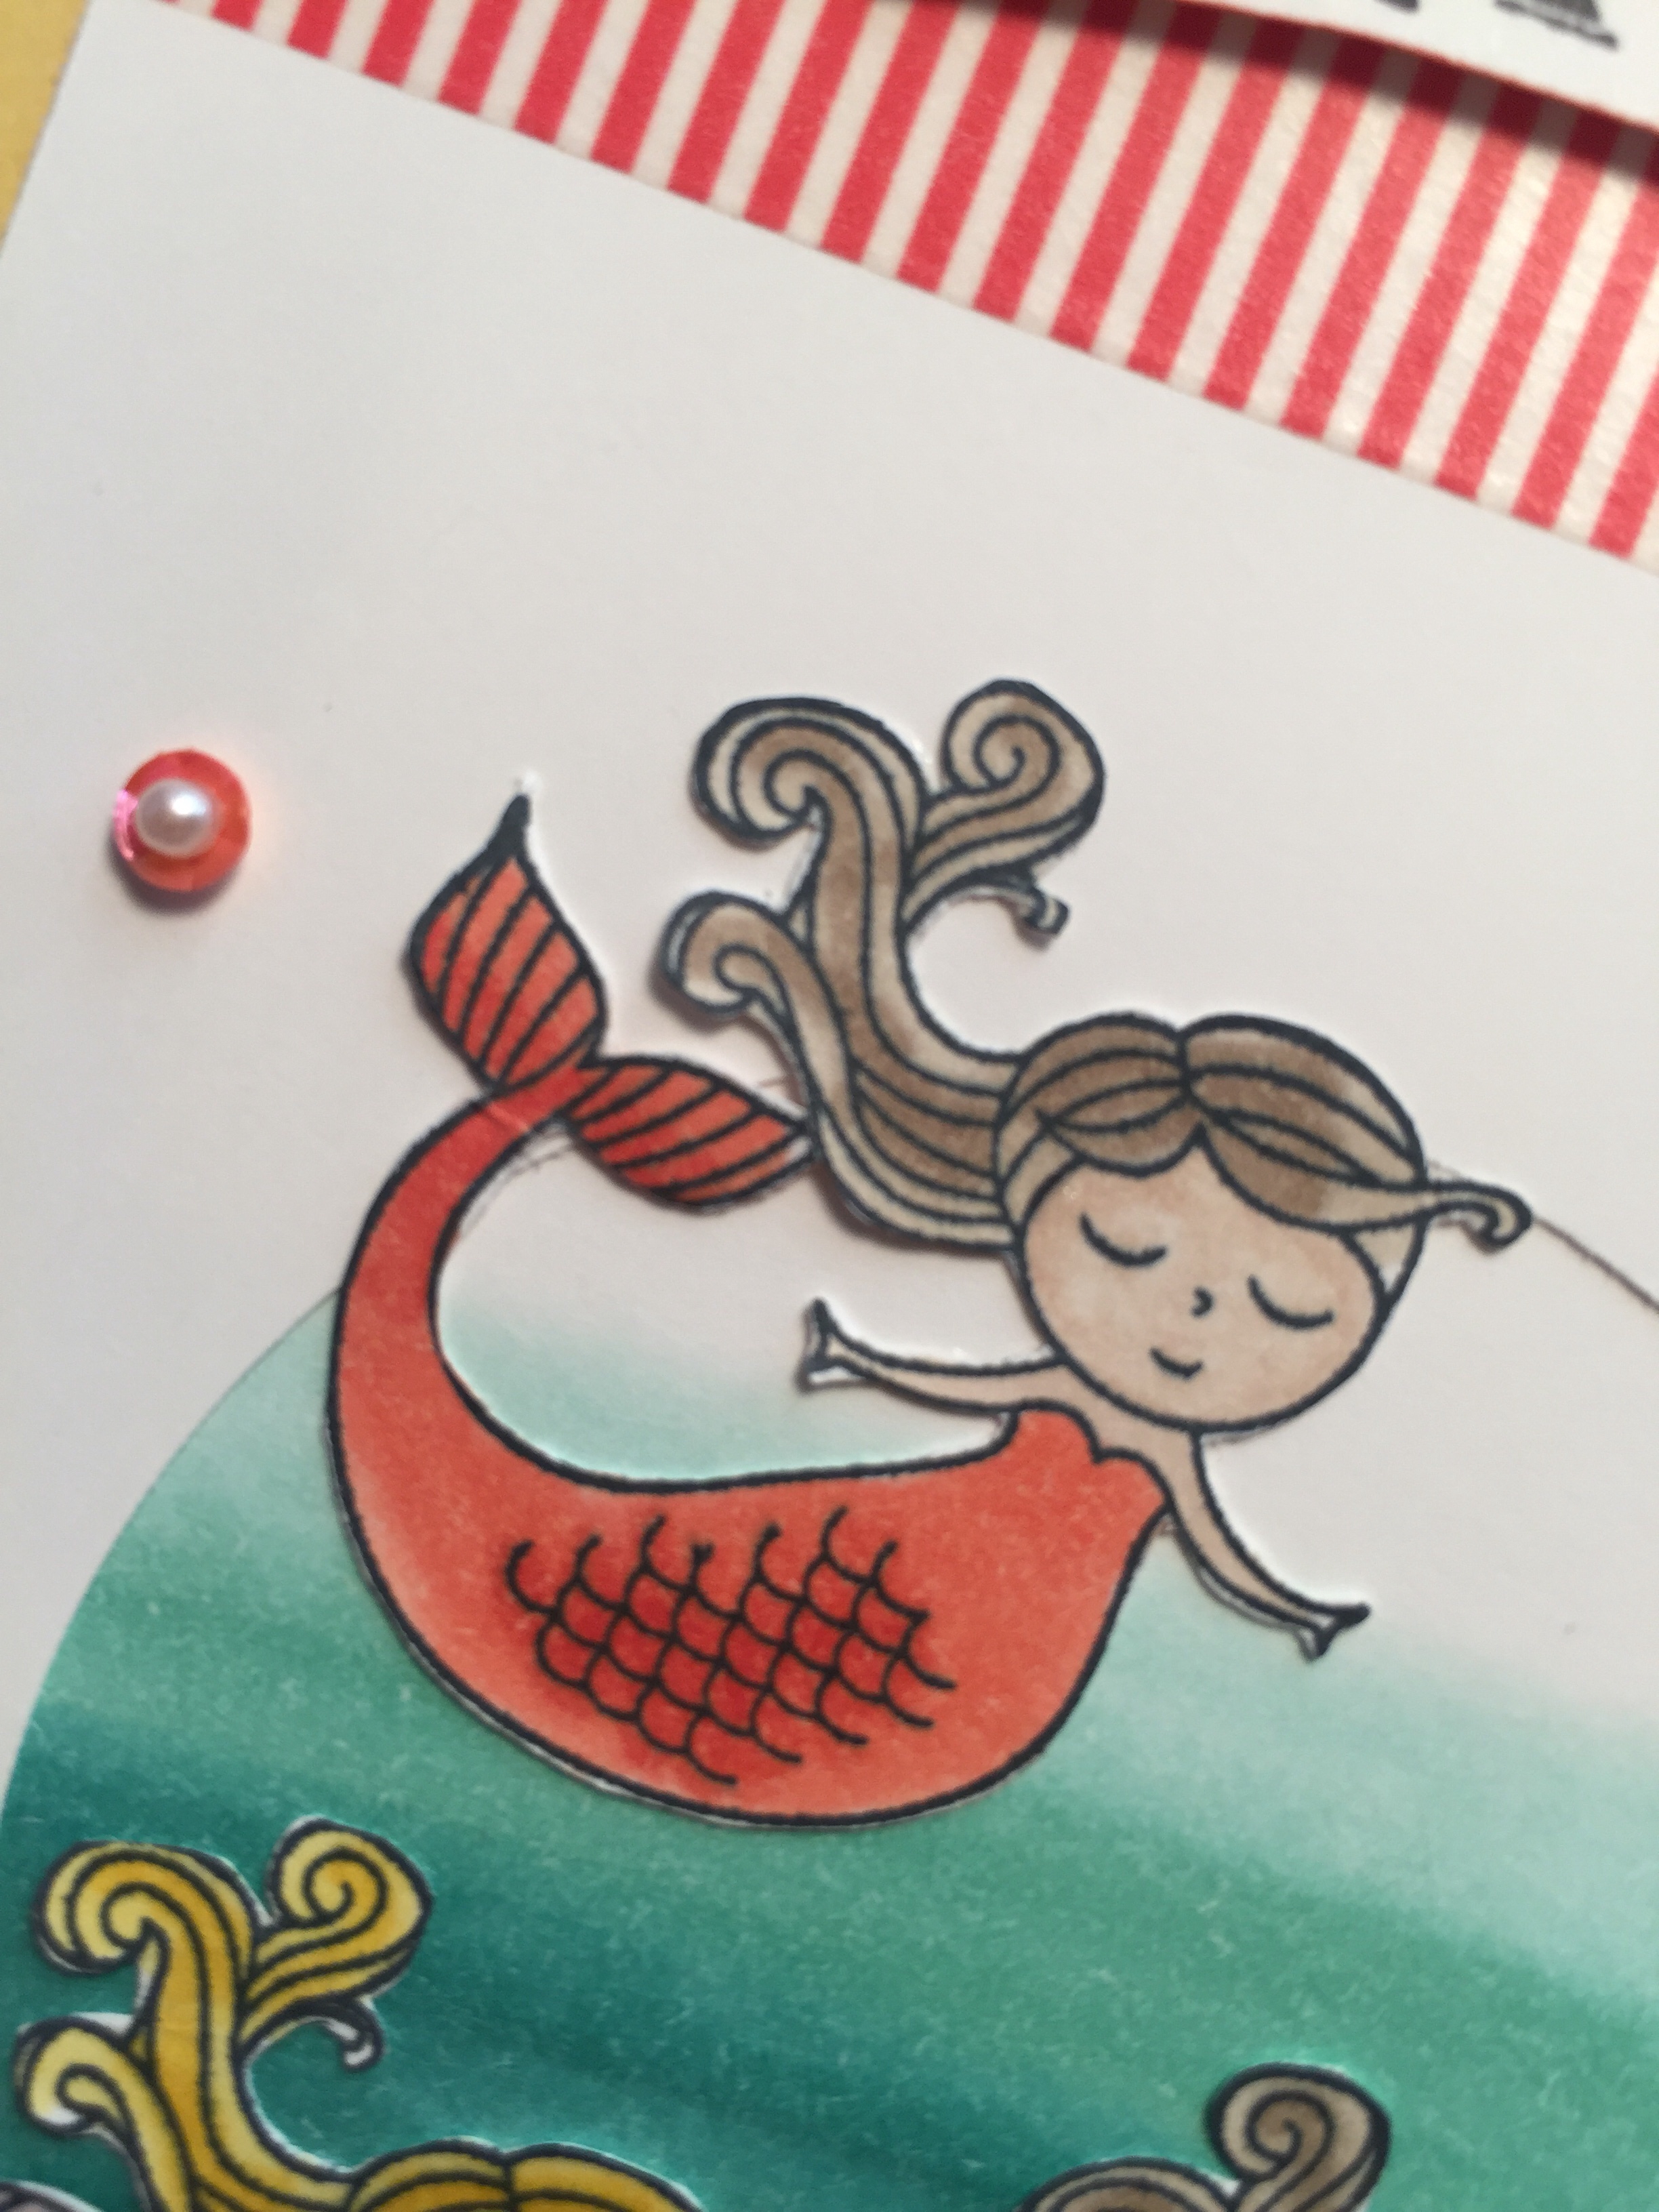
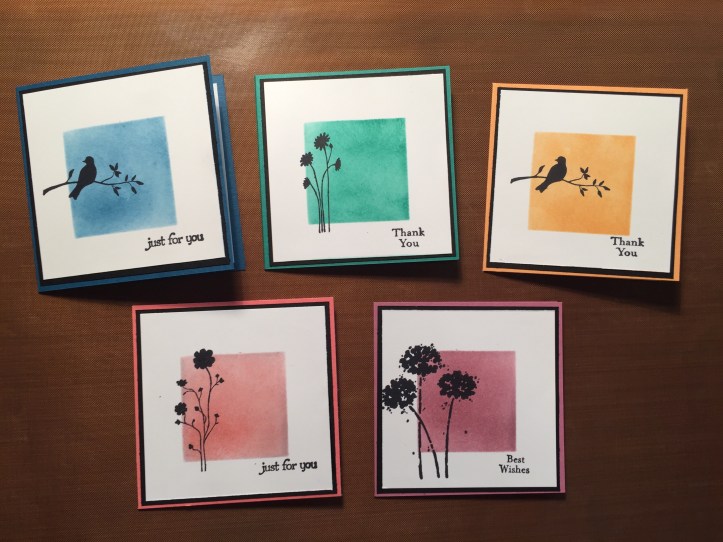
The card bases are cut to 6″ x 3″ and scored at 3″. The colours are the 2016-2018 Stampin’ Up! In Colous – Flirty Flamingo, Peekaboo Peach, Sweet Sugarplum, Emerald Envy and Dapper Denim. The black mat is cut to 2 7/8″ x 2 7/8″. The Whisper White square is cut to 2 ¾” x 2 ¾”. The sentiments (as well as most of the silhouette images) came from the set Silhouette Sentiments.


I created a cut out square template that I used to mask while sponging. I sponged each of the 5 colours onto a piece of whisper white. In hindsight I should have started with the lightest colour first. I didn’t and ended up sponging flirty flamingo last and actually transferred some of the darker blue ink from the mask onto the pink square, but never mind. You need to look close to see it.
Once the sponging was done, I used Basic Black into to stamp on on silhouette image.
Then is was construction time. I decided to not use any dimensionals as I am not sure what I will do with these cards, if I gift them as a set they might all need to fit nicely in a small box and I might not want the extra bulk.
In my last Stampin’ Up! order I raided the clearance rack (who doesn’t love a bargain) and they had packs of envelope paper in the 2016-2018 In Colours going cheap so I grabbed a pack. This paper is actually really versatile. I have used it as normal patterned paper in the last set of notecards I made (see them here) but today I used them to make envelopes. They are plain paper on side and patterned on the other so no need for an additional envelope liner. The envelope punch board makes very light work of making envelopes in a huge range of sizes and I highly recommend it. You don’t need to google far to find many other uses for this tool.
Hope you like today’s project, leave me a comment if you do 🙂

