
It has been absolutely ages since I used my re-inkers for any kind of technique. I love the re-inkers, they are inexpensive and it doesn’t seem to matter how much use them, they always seem to say ‘pretty full’!

I have used them in the past on glossy card stock with alcohol, you can check them out here and here. Today I decided to use them to create water-coloured backgrounds.
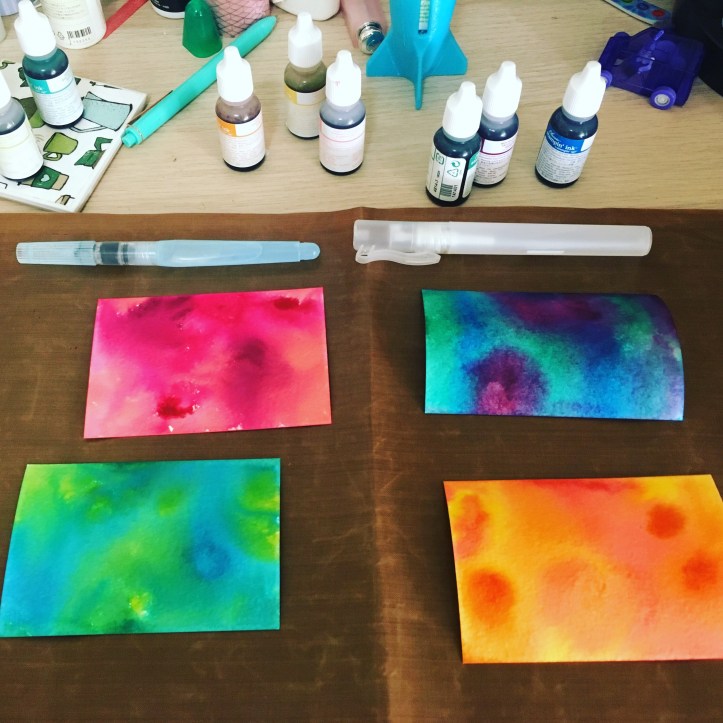
The watercolour paper comes in sheets that are roughly 15.2cm x 22.9cm, and I cut my sheet into 4 evenly sized pieces. When working with water, I like to protect my surface with something like a craft sheet, something that doesn’t absorb and can easily be wiped clean. Some people like to stick down their watercolour paper so it doesn’t warp, but since I was just creating random backgrounds I didn’t bother with this.
For each piece of paper I selected 3 re-inkers that I thought would work well together, and I put around 3 drops of each into seperate wells of a small paint tray. Using a spritzer I sprayed a generous amount of water onto a piece of watercolour paper, and then used my aqua brush to drop droplets of re-inker onto the card stock. I did add a very small amount of water to the re-inker well before picking it up to drop, but not much. I wanted very vibrant colours. As soon as you drop some ink, you will see it move with the water on the paper. If it doesn’t move as much as you want, spritz some more water. There is really no right or wrong with this technique – just have fun.
I used the following colour combos:
- Melon Mambo, Berry Burst & Flirty Flamingo
- Pumpkin Pie, Daffodil Delight & Flirty Flamingo
- Bermuda Bay, Lemon Lime Twist & Tempting Turquoise
- Rich Razzleberry, Pacific Point & Emerald Envy
I realise that some of these colours are retired and can’t be bought anymore, but it gives you some ideas of combinations you can use. Use what you have in your stash. Essentially I just dropped colour randomly on the page, and I did try and fill in the all the white space (mostly because I didn’t know how I would use the panels at the time).
My least favourite combination was the rich Razzleberry, Pacific Point and Emerald Envy. As I was adding them I realised they were all quite deep and dark and I wasn’t liking the mix. So I just spritzed and spritzed and spritzed more water. By doing this it kind of smoothed and blended them really well and in the end this was one of my favourites. You can blot extra dark sections with some paper towel ( I did this around the edges because as the paper started to buckle the ink pooled on the edge). I prefer to let them dry on their own, but if you are in a rush you can use the heat tool.
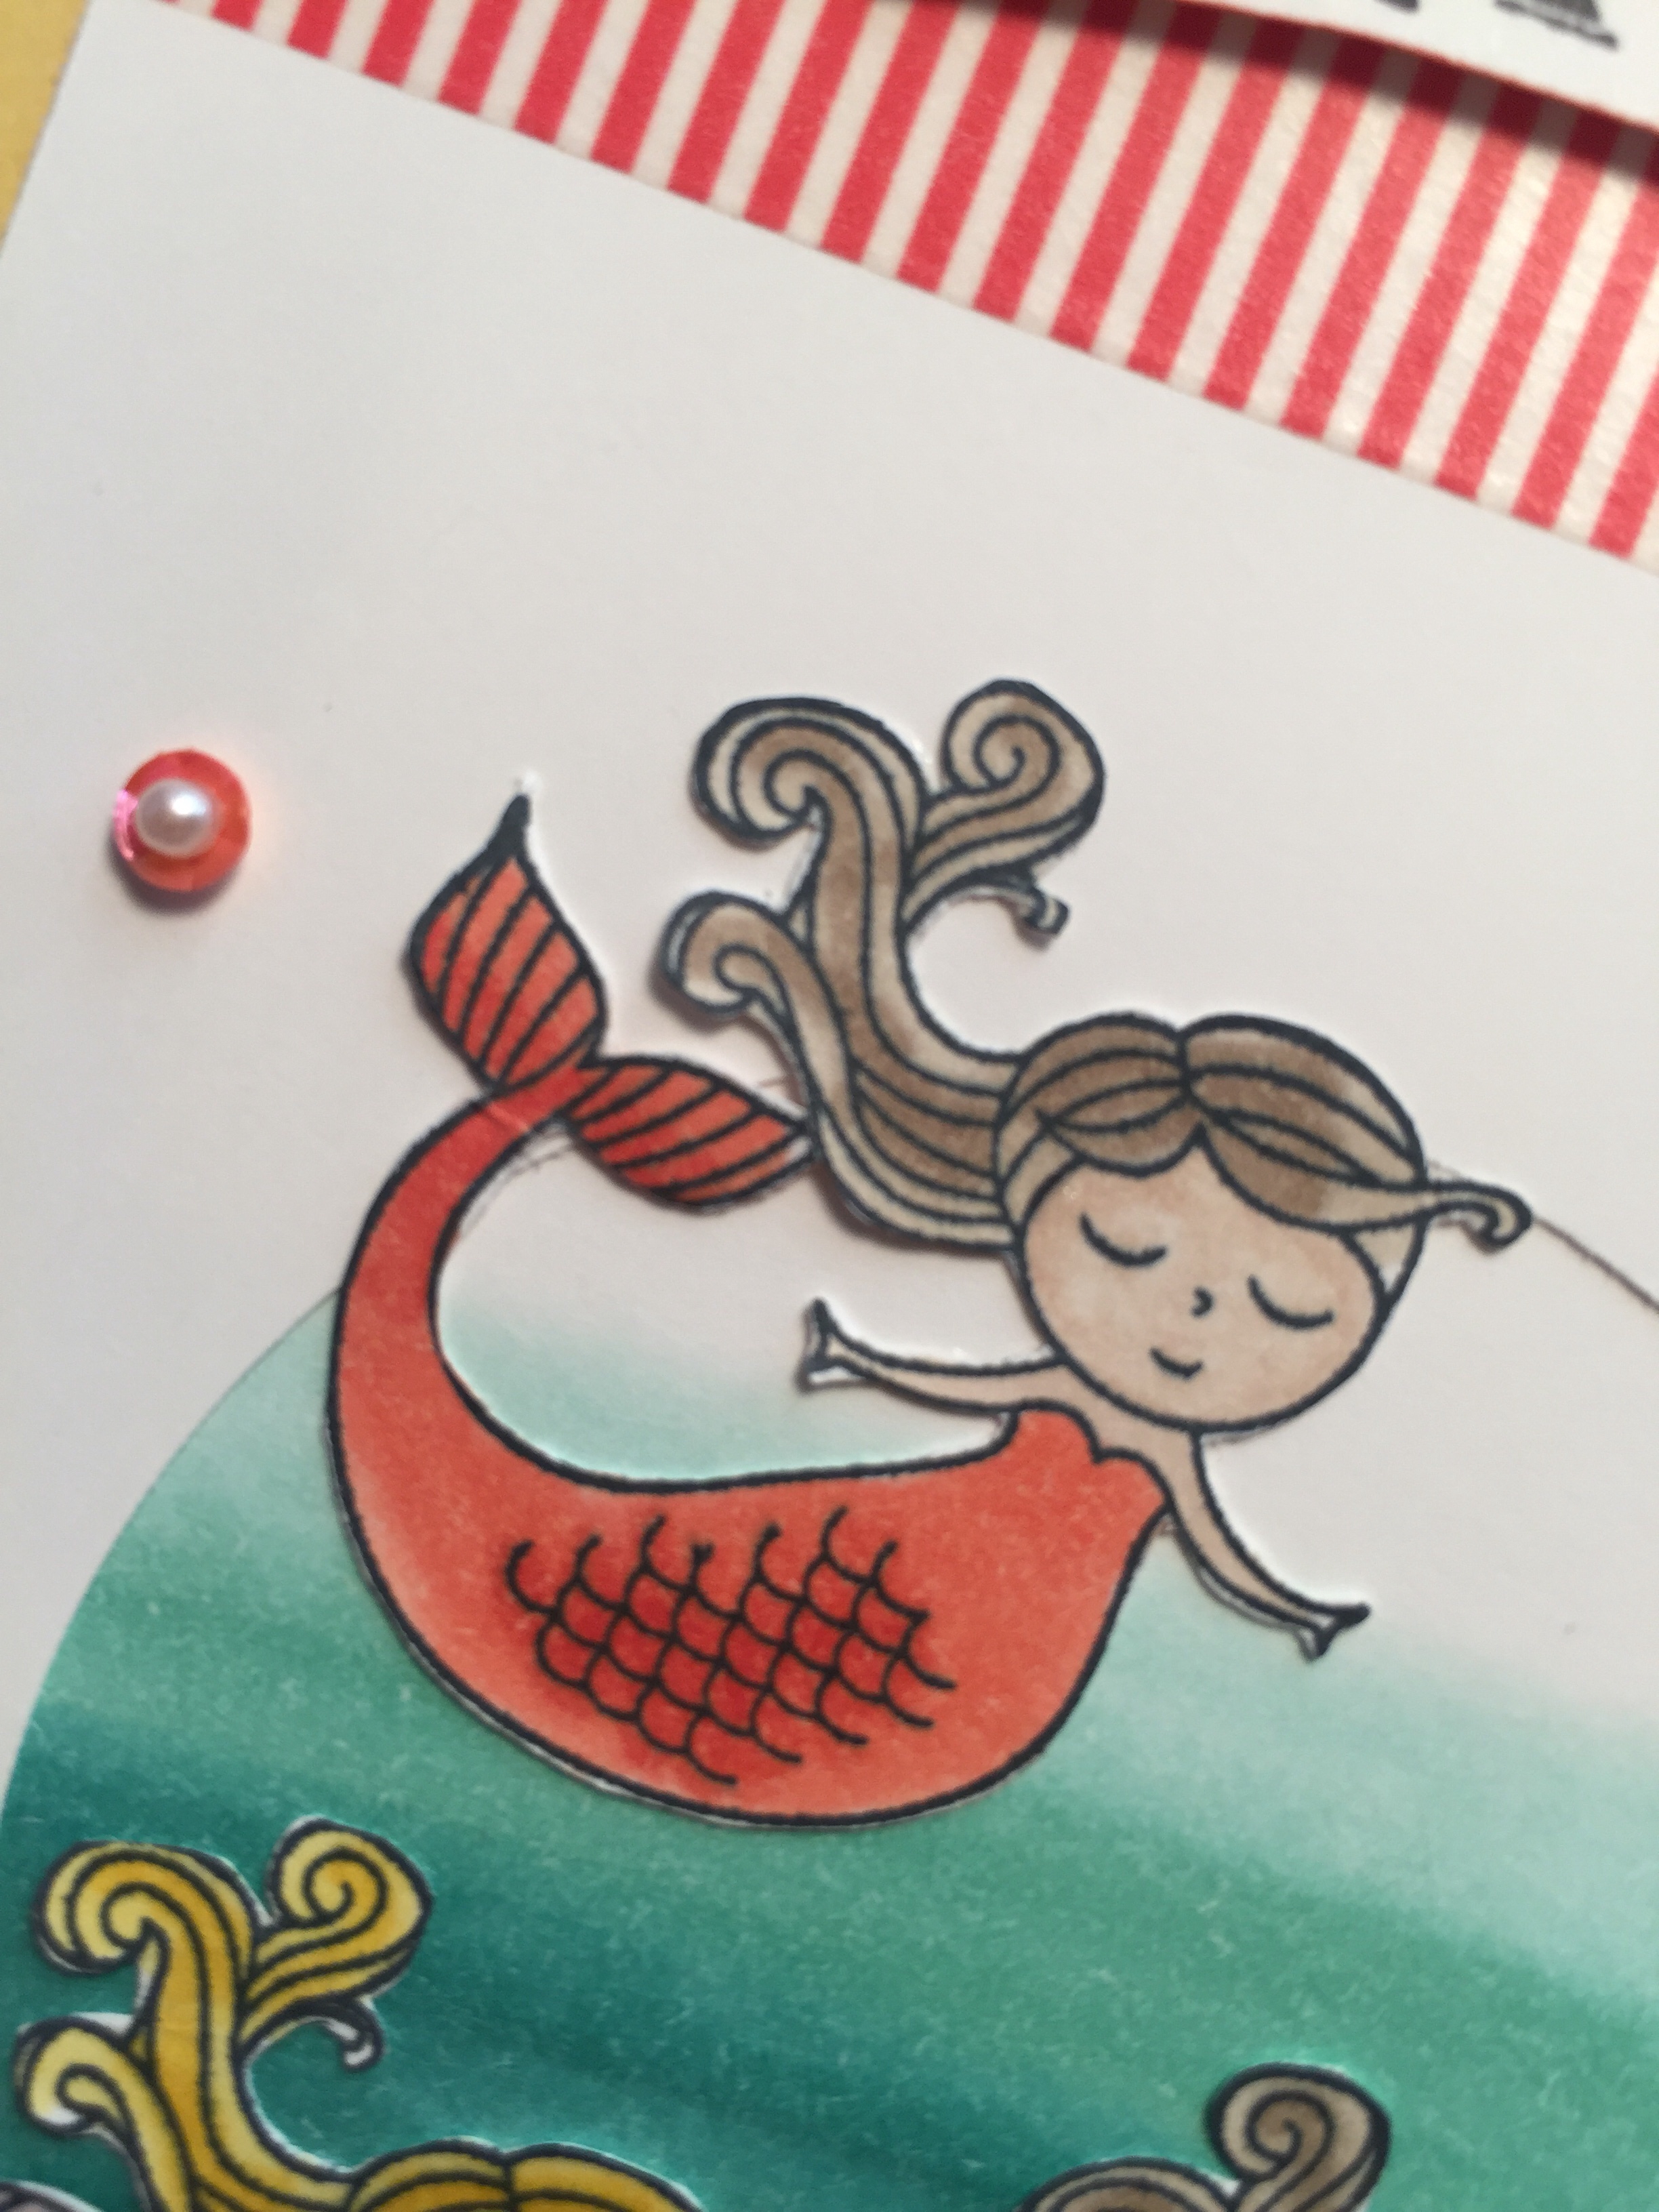
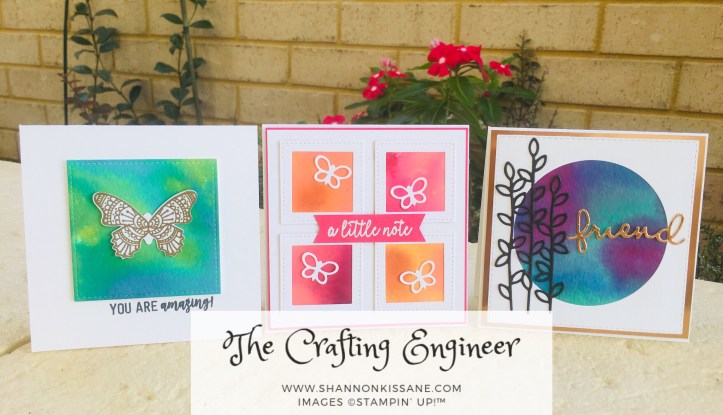
Now for the cards. Given the size of the panels I had created, I decided on doing square cards sized at 10.5cm x 10.5cm. For the first card I used the two smallest stitched squares to not only cut the background pieces, but to also cut some white frames. I used both the pink and the orange pieces for this card. I matted the squares onto a whisper white panel, and then added a panel of melon mambo. The sentiment is from Butterfly Gala and its heat embossed in white on a scrap of Melon Mambo. To finish it off I added some small die cut butterflies that are from the Well Written Framelits.

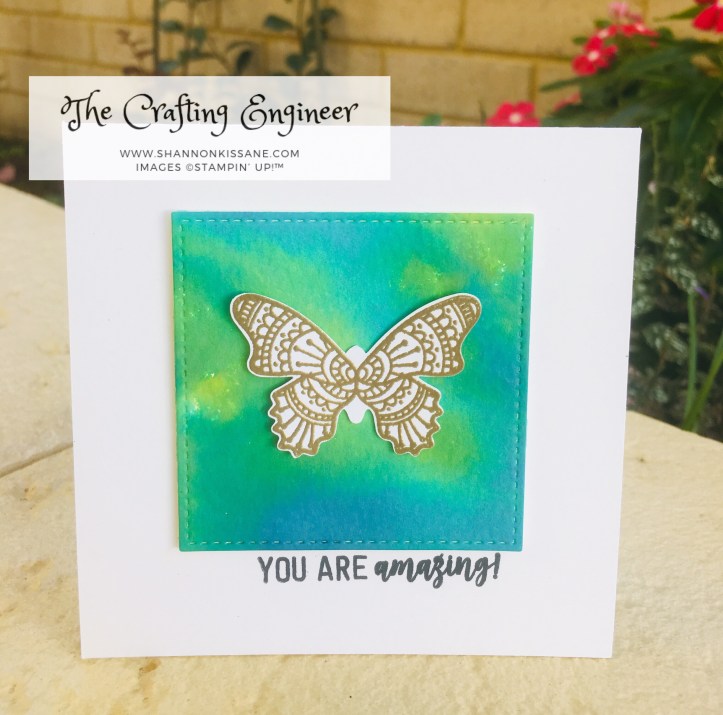
For the second card I kept it really really simple. I cut a square panel using the largest stitched square, added a butterfly (from the Butterfly Gala stamp set) heat embossed in gold and used a ‘jack of all trades’ sentiment from the Amazing Life stamp set.
For my last card, I wanted a large square panel in white, but I wanted it stitched. I used the largest stitched rectangle die and used a partial die cut technique to cut only part of it at a time. There are plenty of YouTube videos that show particle die cutting which will show you far better than I can explain it on paper. But one tip – the width of the actual rectangle die is 10cm (the cut size is slightly smaller). To assist with lining up I drew a 10cm square in pencil on my card stock. This helped me to line things up and make sure I ended up with a 10cm stitched square.

I then used the largest stitched circle to cut away the middle section of the square, and stuck this down on my watercolored background piece. I kept the embellishment and sentiment (both from the Well Written framelits) simple, but I did cut the sentiment in copper (as well as adding a copper mat) for some fancy shine. I highly recommend using adhesive sheets when cutting out sentiments or delicate dies like on this card, it makes sticking them down an absolute breeze.
So, four background pieces from one sheet of watercolour paper, created 3 different cards (and gave me some cool left over bits). I am really pleased how these came out. I hope you will give this technique a try and let me know how you get on. I’ll link to the main materials required for this technique (some of the re-inkers are retired, but I would recommend the brights – they are my favourites!), but use what you have. I won’t list all the stamp sets and dies as I think this would overwhelm. This blog post is all about the background pieces and you don’t need much for those. This is definitely a ‘nothing fancy required’ technique – will the exception of using a good quality water colour paper. Don’t cheap out on this part, as the cheaper paper (I have tried the one in Kmart) really doesn’t work so well for this. It can’t take this amount of water and liquid and will start to pill on you.
Until next time, happy crafting xx
Product List


