
I’m not sure why, but I really like making small card sets – particularly 3″ x 3″ cards. I’ve said it before but they are just such a convenient size for sticking to a bottle of wine, or attaching to a small gift for someone, or for a card for someone you perhaps don’t know really well – nothing more awkward than a large card to write in when you really only want to say a few words!
Over the last couple of days I have created two card sets. For one of them I have a recipient mind for the set, I’ll make a nice box to put them in and add some ribbon or something. The other – I’m not sure what I will do with them. Maybe I will attach them to bottles of wine for the wonderful educators at the daycare my kids go to.
For the first set, I was going to keep them really one dimensional and fairly plain, but I made a mistake when stamping one of the sentiments, and then I stamped a few of the other ones crooked. So I decided to add a strip of whisper white that had been sponged in each of the colours used, and then stick the sentiment on top of that. Mistake fixed!
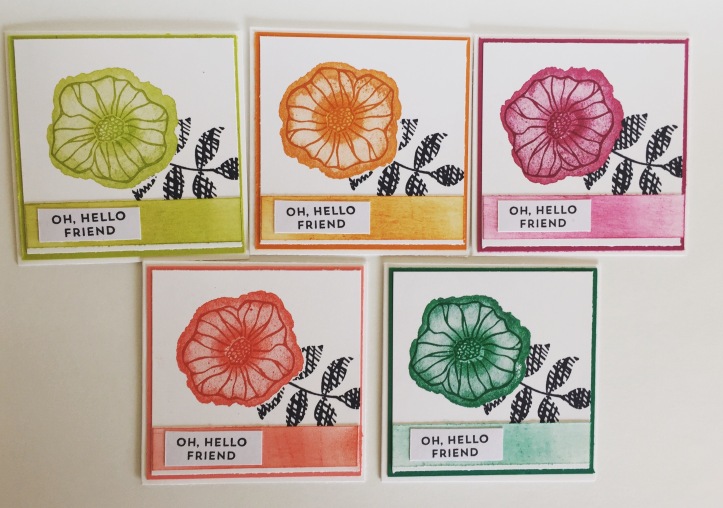
All of the stamps used in this set were from the Oh So Eclectic set. I like the sentiment, it is a bit generic so the cards can be used as thank you notes, just because notes, birthday cards etc. The colours I used were lemon lime twist, pumpkin pie, berry burst, watermelon wonder and emerald envy.
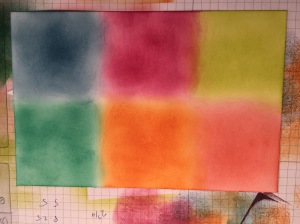
The second set of cards I made were created using a background technique called ‘Joseph’s Coat’. You firstly sponge a piece of whisper white in whatever colours you like. You can mix them all up which looks really cool or you can just use one colour. Because I was making six cards in 6 different colours I kept the sponging in blocks of colour so that when I cut them up each card would just have it’s own colour. After sponging, stamp in VersaMark ink and then heat emboss in clear embossing. Once this is done, use a sponge brayer to go over the top in Earl Espresso, or some other dark ink. As you are brayering you will see that the ink won’t stick to the areas you embossed, so you get this pattern of coloured ink magically showing through the espresso ink.
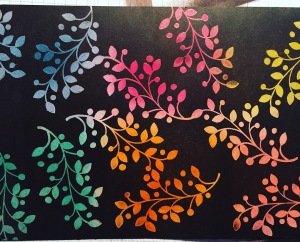
After finishing the brayering, you can use a paper towel to lightly buff the paper to make the coloured parts really stand out. I cut the paper into squares and glued them to a mat in the corresponding card colour. The sentiment came from a (retired) stampin up set called ‘Say it with Scallops’. I also stuck the sentiment to a coloured mat, and then stuck them to the background using dimensionals. This was then attached to a whisper white 3″ x 3″ card base.
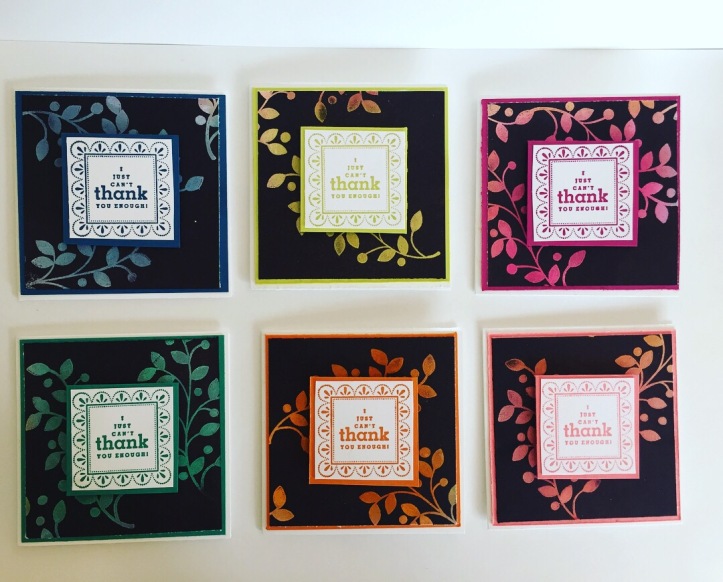
I think these turned out really pretty, they actually look a bit nicer in real life, a bit more shimmery (I am a pretty woeful photographer!).
Hope you like these sets, leave me a comment and let me know what you think.


Both sets are lovely! I especially like the second one!
LikeLike